If you’re over 50 and dealing with hip arthritis, you’re not alone, and you don’t have to accept the pain as just part of getting older. A simple 12-minute daily routine of gentle, bodyweight exercises can make a real difference.
Research shows that low-load bodyweight movements can reduce hip pain and improve physical function in adults with hip osteoarthritis. You don’t need a gym membership, special equipment, or hours of your day. Just 12 minutes, your own body weight, and a commitment to yourself.
In this guide, you’ll get a step-by-step walkthrough of 6 research-backed exercises that target the muscles supporting your hip joint. You’ll also learn why this approach works, how to track your progress, and what to avoid. Let’s help you move better and feel stronger.
Understanding Hip Arthritis
Before you start any exercise program, it helps to know what you’re dealing with. Hip arthritis isn’t just one condition—it’s a term that covers different types of joint problems.
Osteoarthritis is the most common type, especially after age 50. Think of it as wear and tear on your hip joint. The smooth cartilage that cushions your bones slowly breaks down over time. Your bones start rubbing together, causing pain, stiffness, and reduced movement.
Rheumatoid arthritis is different. It’s an autoimmune condition where your body attacks the lining of your joints. This causes inflammation, pain, and eventually joint damage. It can affect both hips at the same time.
Why Exercise Helps (Even When It Hurts to Move)
You might think rest is the answer. But here’s what research tells us: the right kind of movement actually helps your hip joint heal and function better.
Exercise does three important things:
- Lubricates your joints. Movement pumps fluid into your cartilage, which acts like oil in an engine.
- Strengthens support structures. Your muscles take pressure off your bones and joints.
- Reduces inflammation. Regular movement can lower inflammatory markers in your body.
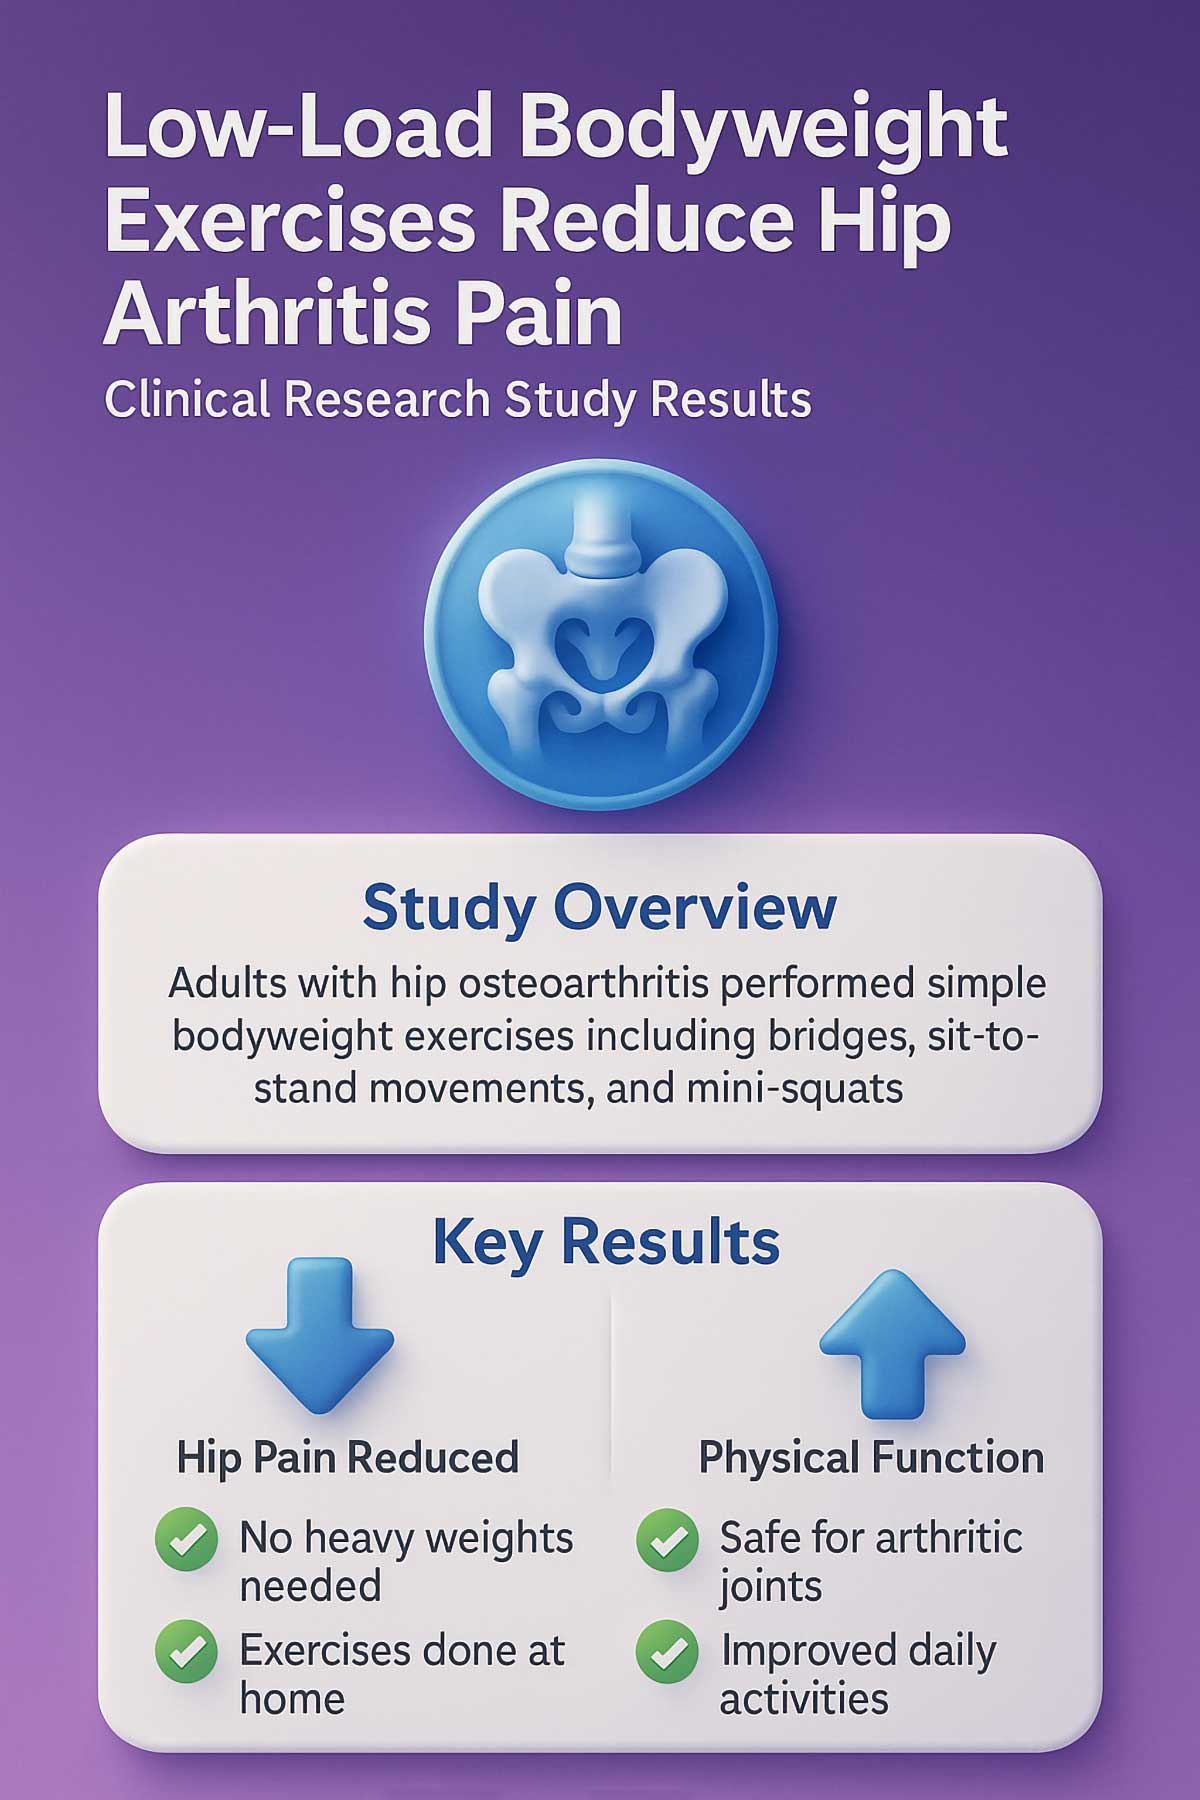
A 2014 study published in Arthritis Care & Research found that low-load bodyweight exercises like bridges, sit-to-stand movements, and mini-squats reduced hip pain and improved physical function in adults with hip osteoarthritis. The key word is “low-load”—you’re not lifting heavy weights or doing intense workouts.
What Results Can You Expect (and When)?
Let’s be realistic. You won’t wake up pain-free after one workout. But if you stick with it, here’s a typical timeline:
- Week 2-4: You’ll notice it’s a bit easier to do the exercises. Daily tasks might feel slightly less painful.
- Week 6-8: Your hip strength improves. You’ll have better balance and stability.
- Week 12+: This is where real change happens. Pain decreases significantly. Your range of motion improves. You can do more activities you enjoy.
A 2012 study in the Annals of Rheumatic Diseases tracked people with hip OA who did a 12-week home-based bodyweight program. They saw major improvements in walking distance, mobility, and pain levels. That’s the kind of change we’re aiming for.
The “Why” Behind the 12-Minute Routine
Why Bodyweight?
Using your own body weight is one of the safest ways to build strength without putting extra stress on your joints. You’re not adding external load that could make things worse. Instead, you’re working with what you have, which gives you complete control.
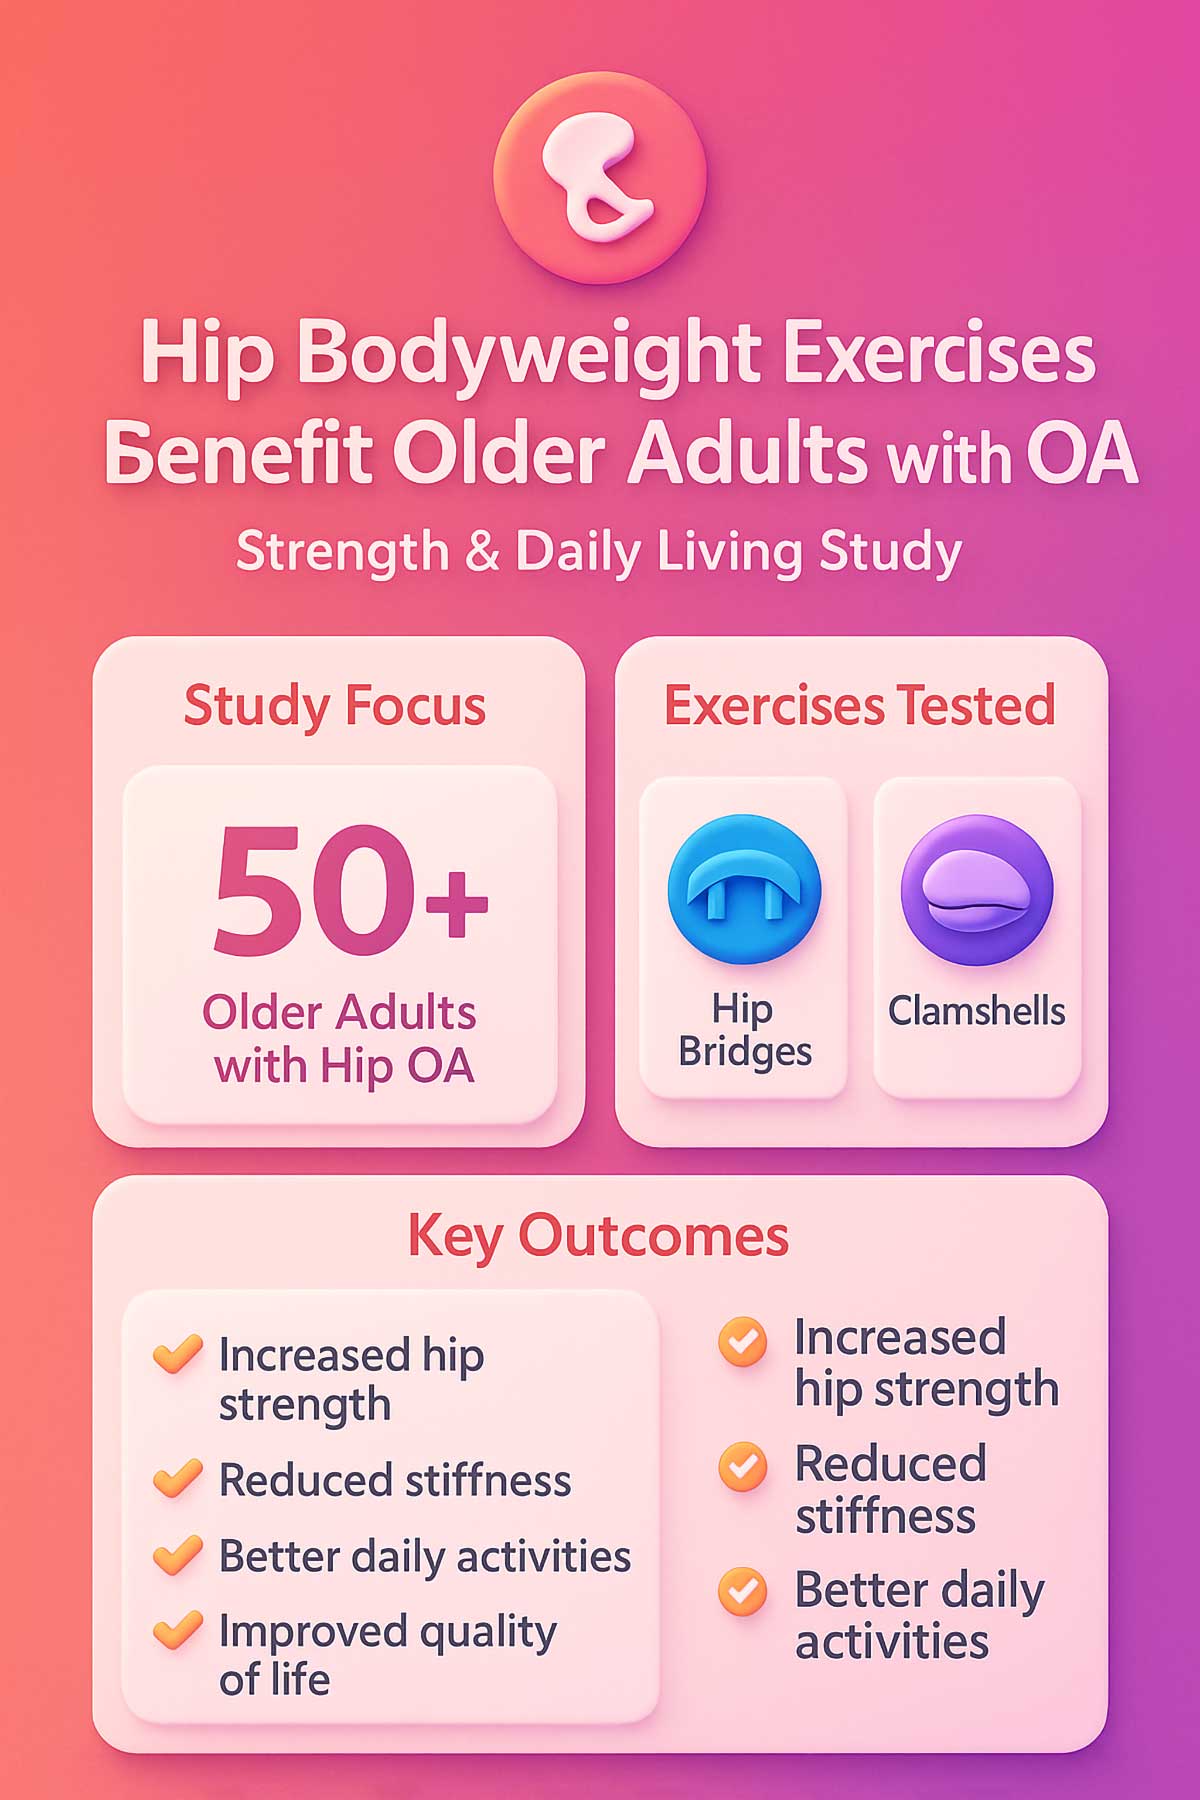
A 2013 study in Physiotherapy showed that bodyweight exercises like hip bridges, clamshells, and squats increased hip strength and reduced stiffness in older adults with hip OA. These simple moves improved their ability to do everyday activities like climbing stairs and getting dressed.
Why 12 Minutes?
You might think longer workouts mean better results. But here’s what matters most: showing up every day. A short, manageable routine is easier to stick with than an hour at the gym.
Research from 2010 published in Osteoarthritis and Cartilage compared different exercise programs. The structured low-load programs showed meaningful reductions in hip pain and improved joint function. The people who did shorter, consistent workouts often had better results than those who tried to do too much.
Consistency beats intensity every time.
Why These 6 Exercises?
These movements target your glutes, quads, and core—the muscles that keep your hip joint stable and supported. When these muscles get stronger, they take pressure off your hip joint.
Think of it like this: if your hip joint is a bridge, these muscles are the support beams. Stronger beams mean less stress on the bridge itself.
Quick Tips Before You Start
Listen to your body. Pain is a stop sign. Some mild discomfort is normal when you’re moving in new ways, but sharp or severe pain means you need to back off. Use the table below to help you tell the difference.
| What You Feel | What It Means | What to Do |
|---|---|---|
| Mild muscle burn during exercise | Normal discomfort—muscles are working | Continue with good form |
| Sharp, shooting pain in your hip or leg | Warning sign—something’s wrong | Stop immediately and rest |
| Dull ache 24-48 hours after exercise | Typical muscle soreness | Rest, gentle movement, ice if needed |
| Increased stiffness that lasts more than 2 days | You overdid it | Scale back reps or take an extra rest day |
| Pain that gets worse with each workout | Possible injury or wrong technique | See a healthcare provider |
Warm up first. Your muscles and joints need time to wake up. Never jump straight into the exercises. Here’s a simple 2-minute warm-up:
| Movement | Duration | Purpose |
|---|---|---|
| March in place | 30 seconds | Gets your heart rate up, warms muscles |
| Arm circles (forward and back) | 30 seconds | Loosens your upper body |
| Gentle hip circles | 30 seconds | Moves fluid into your hip joint |
| Side-to-side weight shifts | 30 seconds | Prepares your legs and improves balance |
Aim for consistency. Try to do this routine 5 days a week. Missing a day here and there is fine, but regular practice is what brings results. Your body adapts to what you do consistently.
Your 12-Minute Hip-Strengthening Routine
Each exercise below takes about 2 minutes, including rest time. Move slowly and with control. Focus on form over speed. You’ve got this.
Exercise Quick Reference Guide
Here’s a snapshot of what you’ll be doing. Keep this handy as a quick reminder.
| Exercise | Primary Muscles Targeted | Reps | Hold Time | Difficulty Level |
|---|---|---|---|---|
| Bridge | Glutes, hamstrings, lower back | 10-12 | 5 seconds | Beginner |
| Clamshell | Hip abductors (outer hip) | 10-12 per side | 5 seconds | Beginner |
| Chair Stand | Quads, glutes, core | 10-12 | N/A | Beginner |
| Standing Leg Lift | Hip flexors, quads, balance | 10-12 per side | 3-5 seconds | Beginner |
| Lying Leg Circle | Hip mobility, all directions | 10 each direction per leg | N/A | Beginner |
| Cat-Cow Stretch | Lower back, hip flexors | 10-12 | N/A | Beginner |
1. The Bridge
Why it works: This move fires up your glutes—the powerhouse muscles that support your hips. Stronger glutes mean better stability and less strain on your hip joint. It also strengthens your hamstrings and lower back.
How to do it:
- Lie on your back with your knees bent and feet flat on the floor, hip-width apart.
- Keep your arms at your sides, palms down.
- Breathe in to prepare.
- Breathe out as you press through your heels and lift your hips toward the ceiling.
- Hold for 5 seconds at the top. Your body should form a straight line from shoulders to knees.
- Breathe in as you lower slowly back down.
- Do 10-12 reps.
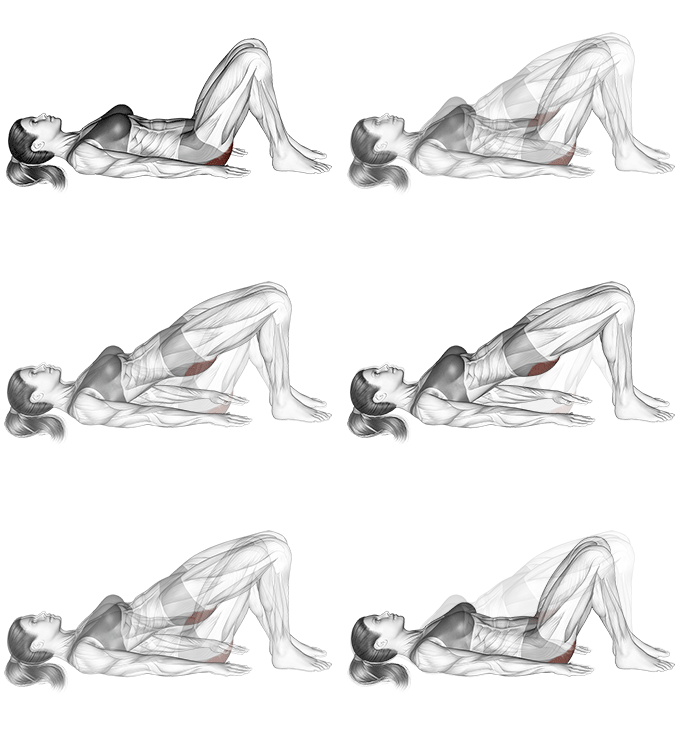
What you should feel: Your glutes and the back of your thighs should be working. You shouldn’t feel pain in your lower back or hip joint. If you do, lower your hips a bit or reduce the hold time.
Common mistakes:
- Arching your lower back too much (keep your core tight)
- Lifting your hips too high (stop when your body is in a straight line)
- Holding your breath (breathe naturally throughout)
- Pushing through your toes instead of your heels
Pro-Tip: Think about squeezing a ball between your knees. This turns on your inner thigh muscles and makes the exercise more effective. It also protects your knees.
Breathing pattern: Exhale on the way up (the hard part), inhale on the way down (the easy part).
2. The Clamshell
Why it works: This exercise strengthens your hip abductors, which help keep you stable when you walk. A 2008 study in Arthritis & Rheumatism found that hip abductor strength is a key factor in reducing pain and improving walking ability in people with hip OA. When these muscles are weak, your hip joint takes more impact with each step.
How to do it:
- Lie on your side with your knees bent at 90 degrees.
- Keep your feet together and stack your hips so they’re straight up and down.
- Rest your head on your arm or a pillow.
- Breathe in to prepare.
- Breathe out as you lift your top knee as high as you can while keeping your feet touching.
- Hold for 5 seconds. Don’t let your hips roll backward.
- Breathe in as you lower slowly back down.
- Do 10-12 reps on each side.
What you should feel: You should feel this on the outside of your hip (the side facing up). If you feel it in your back or hip flexors, check your form.
Common mistakes:
- Rolling your hips backward (keep them stacked)
- Lifting your foot off the bottom foot
- Using momentum instead of muscle control
- Rushing through the movement
Pro-Tip: Use your glute muscles to lift the knee, not your back or hip flexors. Put your top hand on your glute to feel it working. If you can’t feel it, try smaller movements with better control.
Breathing pattern: Exhale as you open (the hard part), inhale as you close (the easy part).
3. The Chair Stand
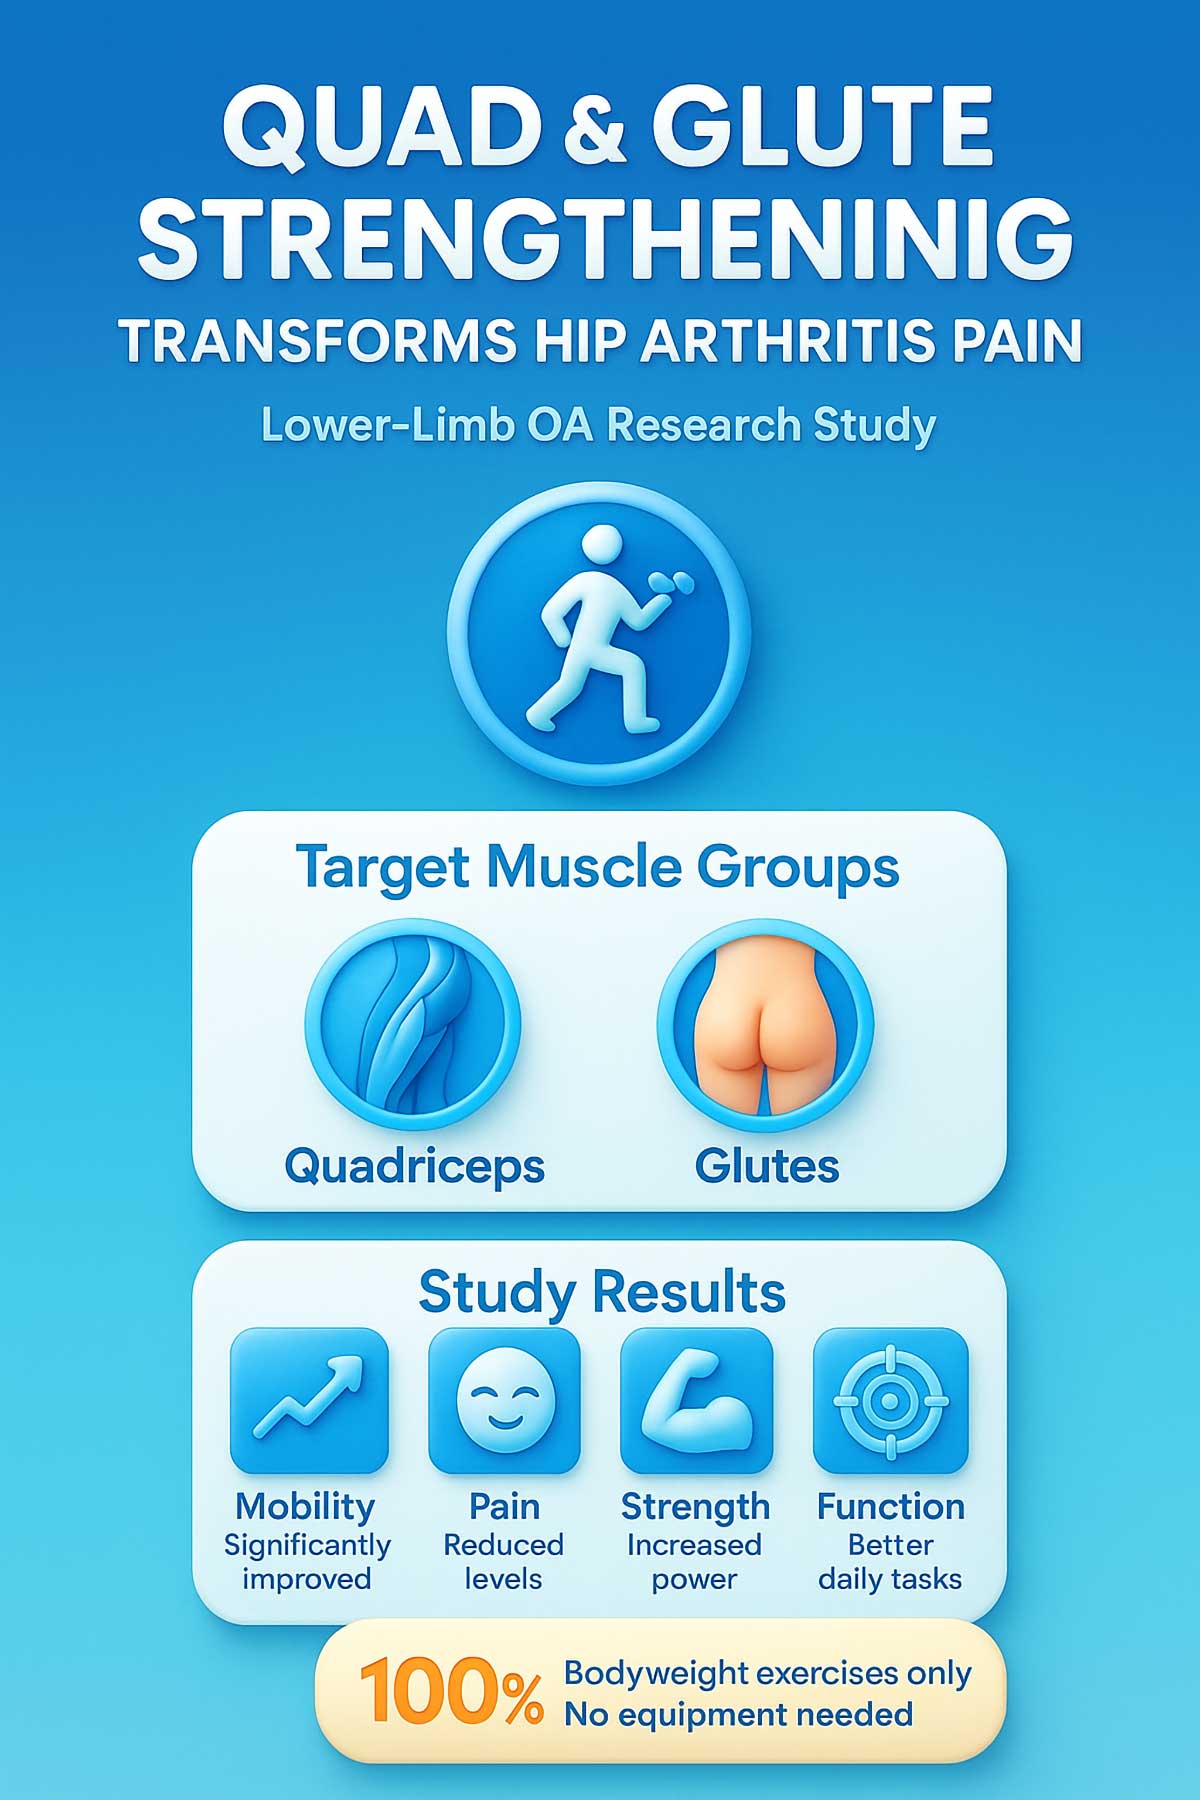
Why it works: This is a functional move that copies everyday actions like getting up from a chair or out of a car. It builds real-world strength. Research from 2008 in Clinical Rehabilitation showed that quad and glute strengthening through bodyweight exercises significantly improved mobility and reduced pain in adults with lower-limb OA.
How to do it:
- Sit on the edge of a sturdy chair with your feet flat on the floor, hip-width apart.
- Cross your arms over your chest or straight ahead (or use armrests if you need to).
- Lean slightly forward from your hips.
- Breathe in to prepare.
- Breathe out as you push through your heels and stand up without using your hands or arms.
- Stand fully upright.
- Breathe in as you sit back down slowly and with control. Don’t just drop into the chair.
- Do 10-12 reps.
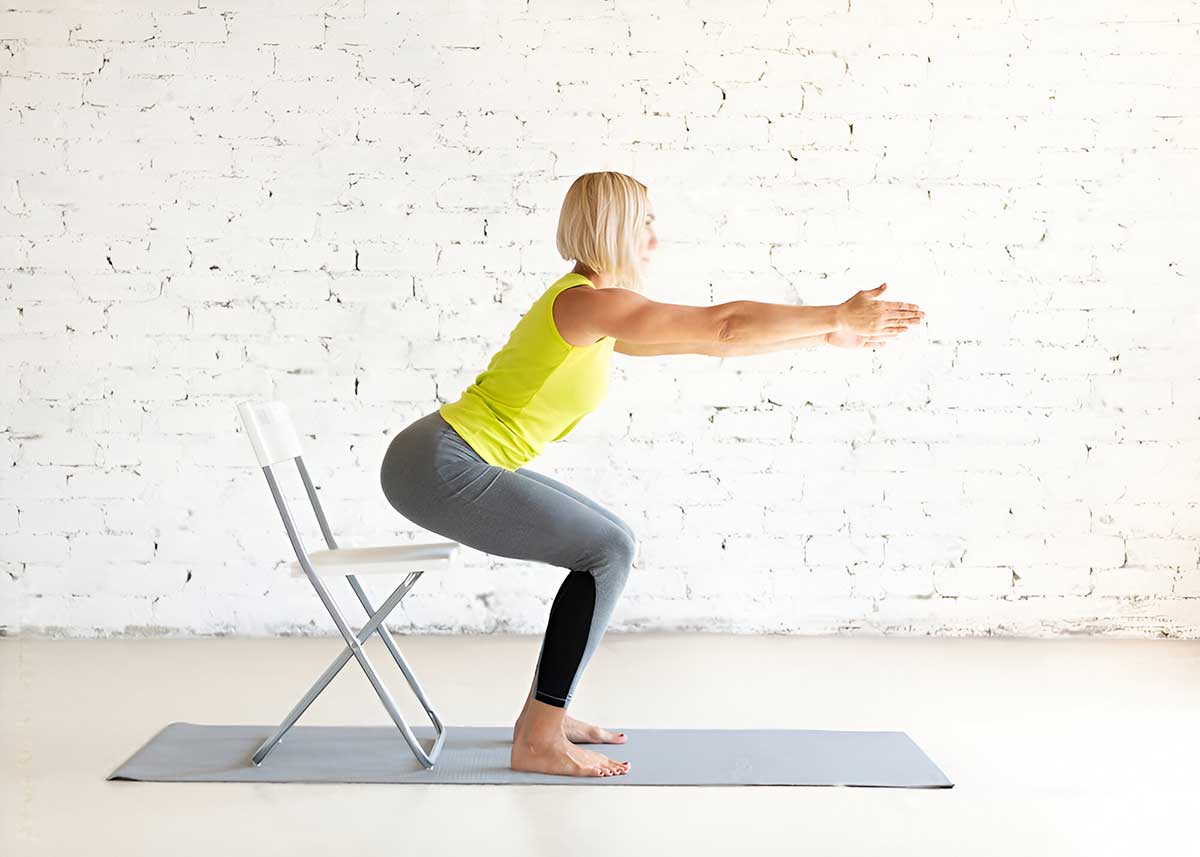
What you should feel: Your thighs (quads) and glutes should be working hard. You might feel a bit winded—that’s normal. This is one of the more challenging exercises.
Common mistakes:
- Pushing through your toes instead of your heels
- Standing up too fast (slow and controlled wins)
- Using your arms to help (unless you’re doing the modified version)
- Not sitting all the way down between reps
Pro-Tip: Push through your heels to turn on the muscles in the back of your legs and glutes. This takes pressure off your knees. If you lean forward a bit as you stand, it makes the movement easier and more natural.
Breathing pattern: Exhale as you stand up (the hard part), inhale as you sit down (the easy part).
4. The Standing Leg Lift
Why it works: This exercise strengthens your hip flexors and helps you balance on one leg. Better balance means less risk of falls and more confidence in how you move. It also strengthens the standing leg, which has to stabilize your whole body.
How to do it:
- Stand next a sturdy chair or table and hold on with one hand for support.
- Stand up straight with your feet hip-width apart.
- Shift your weight onto your right leg.
- Breathe in to prepare.
- Breathe out as you lift your left leg straight out in front of you, keeping your knee straight but not locked.
- Lift as high as you comfortably can without leaning back. Aim for about 45 degrees.
- Hold for 3-5 seconds.
- Breathe in as you lower slowly back down.
- Do 10-12 reps on each side.
What you should feel: You should feel your hip flexors (front of your hip) working on the leg you’re lifting. Your standing leg should feel stable and strong. Your core should be tight.
Common mistakes:
- Leaning back as you lift (keep your back straight)
- Swinging your leg instead of lifting with control
- Letting your standing knee collapse inward
- Holding the chair so tight that you’re hanging on it
Pro-Tip: Keep your back straight and don’t lean backward as you lift your leg. Your core should stay tight, like someone’s about to tap you on the stomach. If you can barely hold on for 3 seconds, try lifting your leg lower.
Breathing pattern: Exhale as you lift (the hard part), inhale as you lower (the easy part).
5. The Lying Leg Circle
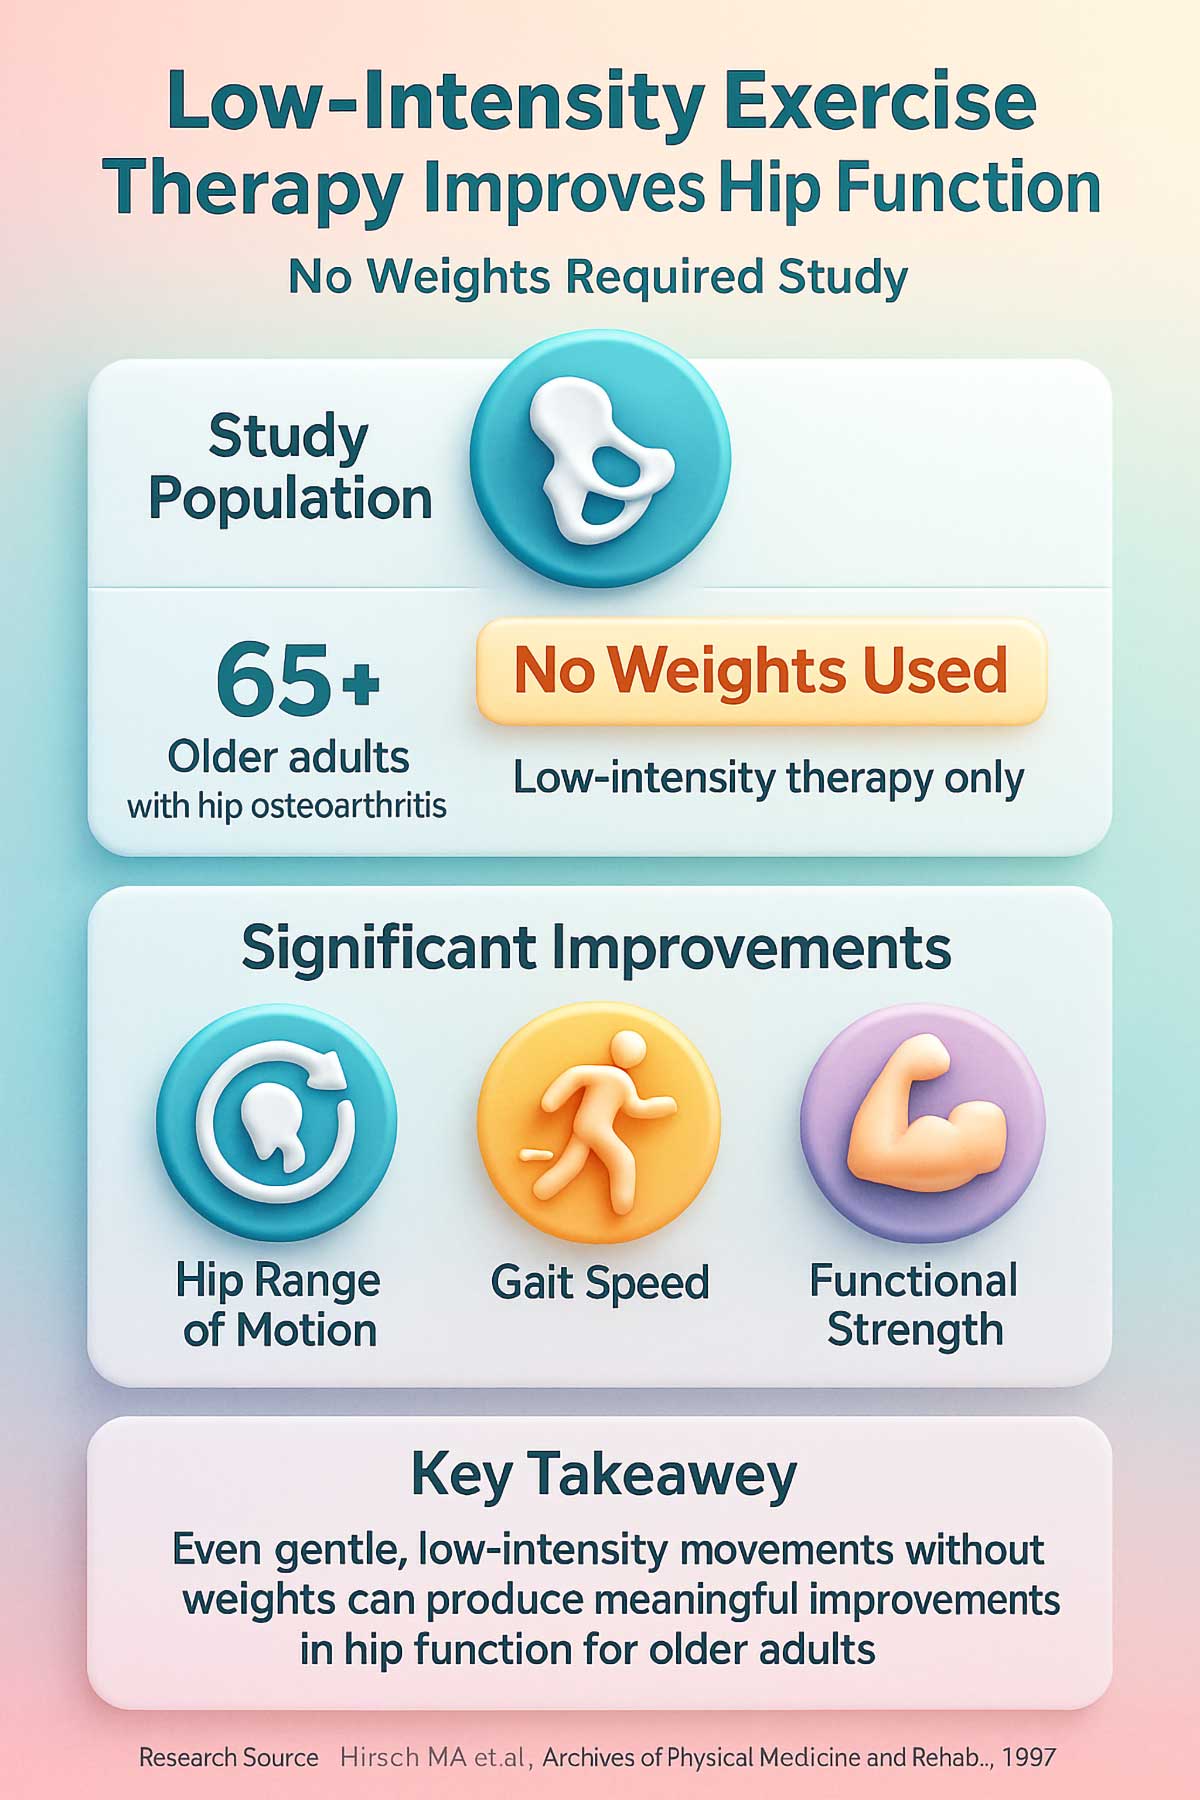
Why it works: This move helps your hip joint move more freely without putting weight on it. A 1997 study in Archives of Physical Medicine and Rehabilitation found that low-intensity exercise therapy improved hip range of motion, walking speed, and functional strength in older adults with hip OA. Moving your joint through its full range of motion keeps it healthy.
How to do it:
- Lie on your back with one leg straight and the other bent, foot flat on the floor.
- Lift your straight leg a few inches off the floor (about 6 inches).
- Point your toes toward the ceiling.
- Breathe naturally throughout.
- Make small, controlled circles with your foot. Think of drawing circles on the ceiling with your knee.
- Do 10 circles clockwise, then 10 circles counterclockwise.
- Lower your leg and switch sides.
What you should feel: You should feel gentle movement in your hip joint. This shouldn’t hurt. You might feel your hip flexors and abs working a bit to keep your leg up. That’s fine.
Common mistakes:
- Making the circles too big (small is better)
- Lifting your leg too high (you’ll tire out quickly)
- Moving too fast (slow and smooth is the goal)
- Holding your breath
Pro-Tip: Keep the circles small and smooth. This is about mobility, not strength, so don’t push too hard. If holding your leg up is tough, rest it down between each set of 10 circles. You can also do smaller circles or fewer reps.
Breathing pattern: Breathe naturally. Don’t hold your breath.
6. The Cat-Cow Stretch
Why it works: This gentle stretch releases tension in your lower back and hips. When you have hip pain, your back often gets tight from trying to pick up the slack. This move also gently moves your hip joints through flexion and extension.
How to do it:
- Start on your hands and knees, with your hands under your shoulders and knees under your hips.
- Keep your spine in a neutral position.
- Breathe in as you arch your back, lifting your chest and tailbone toward the ceiling (cow position). Let your belly drop.
- Look slightly upward, but don’t strain your neck.
- Breathe out as you round your spine, tucking your chin and tailbone (cat position). Pull your belly button toward your spine.
- Look toward your belly button.
- Do 10-12 slow reps, moving with your breath.
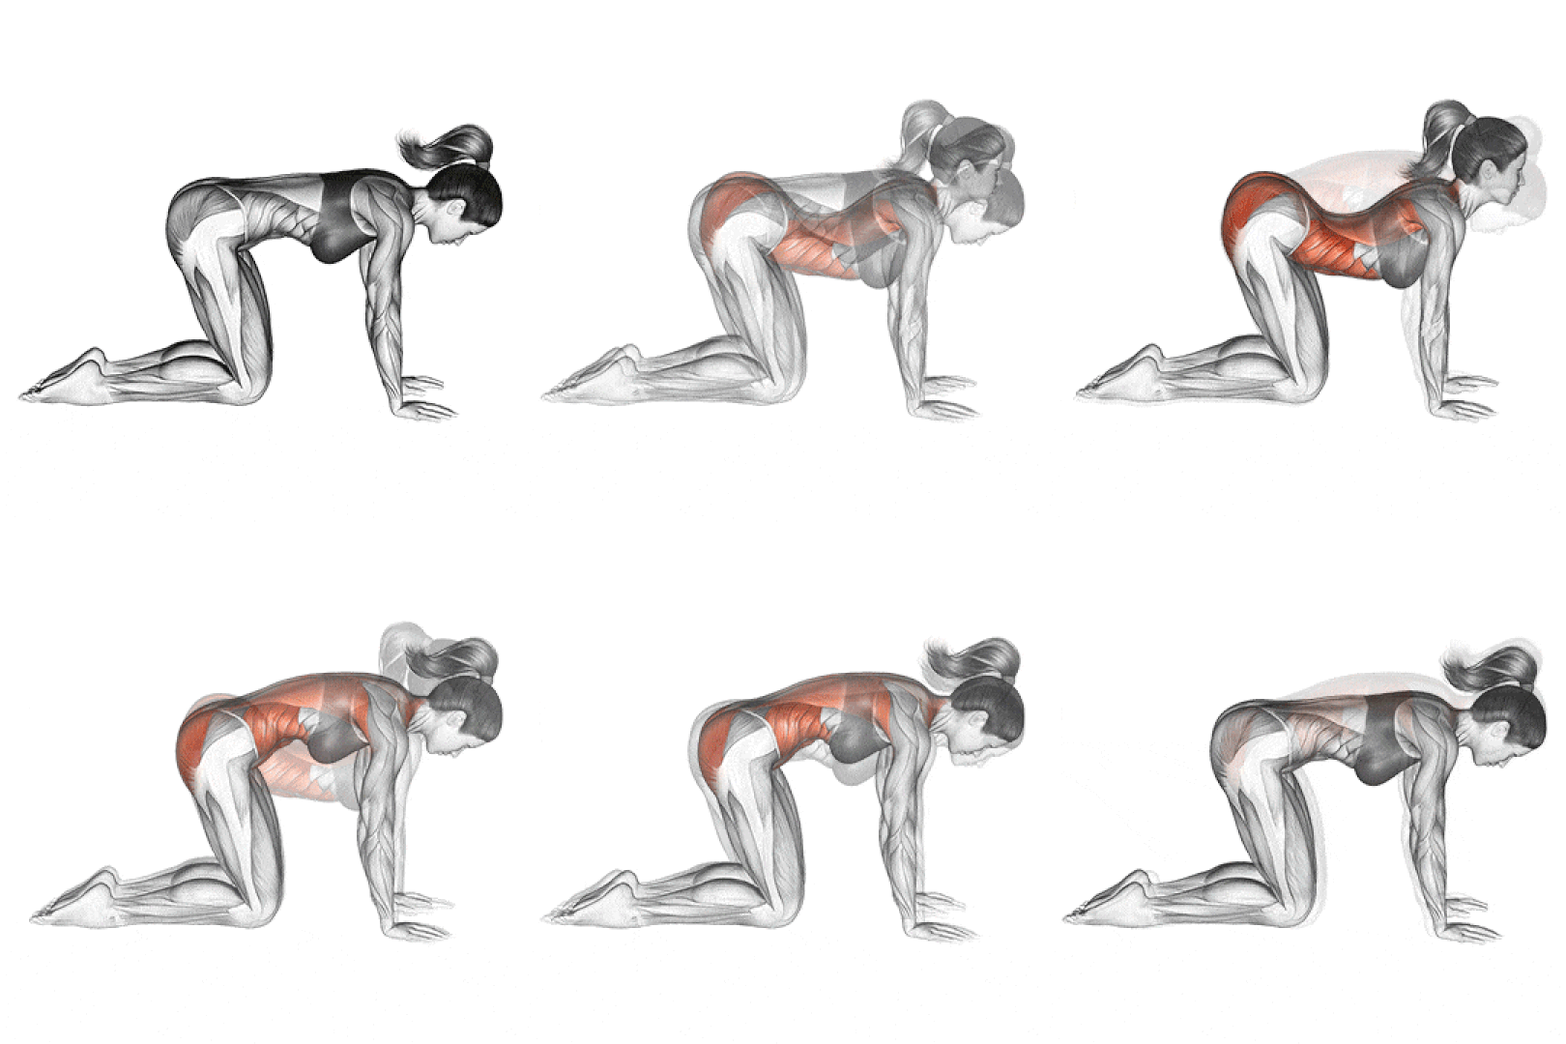
What you should feel: You should feel a gentle stretch in your back and hips. This should feel good, like a long stretch after sitting for a while. It shouldn’t hurt.
Common mistakes:
- Moving too fast (this should be slow and rhythmic)
- Forcing your back into extreme positions
- Not breathing with the movement
- Locking your elbows or overarching your neck
Pro-Tip: Match your breath to your movement. This makes the stretch more relaxing and helps release tension. If your wrists hurt, you can do this standing with your hands against a wall instead.
Breathing pattern: Inhale for cow (arch), exhale for cat (round).
12-Minute Hip Workout Timer
Follow along with audio and visual cues
Exercise Modifications
Not everyone starts at the same fitness level. That’s okay. Here’s how to adjust each exercise to match where you are right now.
| Exercise | Too Easy? Try This | Too Hard? Try This |
|---|---|---|
| Bridge | Hold for 10 seconds instead of 5; lift one leg while bridging | Place your feet on a low step (makes it easier); reduce hold time to 2-3 seconds |
| Clamshell | Add a resistance band around your thighs; hold for 10 seconds | Do smaller lifts (just a few inches); reduce reps to 6-8 |
| Chair Stand | Remove hand support completely; slow down to 3 seconds up, 3 seconds down | Use armrests for support; use a higher chair or add cushions |
| Standing Leg Lift | Let go of the chair for balance; add ankle weights | Hold the chair with both hands; lift your leg lower (30 degrees instead of 45) |
| Lying Leg Circle | Make slightly bigger circles; hold leg higher | Rest your leg between sets; do 5 circles each way instead of 10 |
| Cat-Cow | Hold each position for 5 seconds; add side-to-side hip circles | Do it standing against a wall; reduce reps to 6-8 |
Your 4-Week Progression Plan
Your body needs time to adapt. Don’t rush it. Here’s how to gradually increase the challenge:
| Week | Reps | Sets | Rest Between Exercises | Focus Area |
|---|---|---|---|---|
| 1-2 | 8-10 | 1 set | 45-60 seconds | Learning proper form, building the habit |
| 3-4 | 10-12 | 1 set | 30-45 seconds | Building strength, improving control |
| 5-6 | 12-15 | 1-2 sets | 30 seconds | Increasing endurance, adding volume |
| 7-8 | 12-15 | 2 sets | 20-30 seconds | Solidifying gains, preparing for maintenance |
| 9+ | 12-15 | 2 sets | 20-30 seconds | Maintenance or try “Too Easy” modifications |
Note: If you’re still struggling with form in weeks 3-4, stay at the week 1-2 level until you feel confident. There’s no rush.
Your 12-Minute Weekly Schedule
Knowing when to work out (and when to rest) is just as important as the exercises themselves. Here’s a sample schedule:
| Day | Activity | Duration | Notes |
|---|---|---|---|
| Monday | Full 6-exercise routine | 12 minutes | Start your week strong—focus on form |
| Tuesday | Gentle walk or rest | 15-20 minutes | Active recovery helps your muscles repair |
| Wednesday | Full routine | 12 minutes | Try to increase reps by 1-2 from Monday |
| Thursday | Gentle walk or rest | 15-20 minutes | Listen to your body—rest if you’re sore |
| Friday | Full routine | 12 minutes | Last workout of the week—finish strong |
| Saturday | Light activity (walk, swim) | 20-30 minutes | Stay active but take it easy |
| Sunday | Rest day | 0 minutes | Your body needs complete rest to rebuild |
Can you do these exercises every day? You could, but it’s not recommended when you’re starting out. Your muscles need time to recover and rebuild. That’s when they get stronger. After 8-12 weeks, if you feel great, you can try 6 days a week.
Lifestyle Changes for Healthier Hips
Exercise is powerful, but it’s just one piece of the puzzle. Here are other strategies that can help your hips feel better.
Low-Impact Cardio Options
Walking, swimming, or cycling can help keep your hip joint healthy without beating it up. These activities get blood flowing to your joints, which helps with healing and keeps you mobile.
- Walking: Start with 10-15 minutes, 3-4 times a week. Gradually work up to 30 minutes most days. Walk on softer surfaces like grass or dirt trails when possible.
- Swimming or water aerobics: The water supports your body weight, taking pressure off your joints. Even just walking in waist-deep water helps.
- Cycling (stationary or outdoor): Adjust the seat so your knee is slightly bent at the bottom of the pedal stroke. This protects your hip and knee joints.
Foods That Support Joint Health
What you eat affects your joints. You don’t need a complete diet overhaul, but small changes can help reduce inflammation and support healing.
| Food Type | Examples | Why It Helps Your Hips | Easy Way to Add It |
|---|---|---|---|
| Omega-3 rich foods | Salmon, sardines, walnuts, flaxseeds, chia seeds | Reduces inflammation in joints; may slow cartilage breakdown | Add 2 tablespoons ground flaxseed to your morning oatmeal |
| Colorful vegetables and fruits | Berries, leafy greens, bell peppers, cherries | Full of antioxidants that protect cartilage from damage | Make half your plate vegetables at lunch and dinner |
| Vitamin D sources | Salmon, egg yolks, fortified milk, sunshine | Supports bone health; low levels linked to more arthritis pain | Eat 2-3 eggs for breakfast three times a week |
| Vitamin C foods | Oranges, strawberries, bell peppers, broccoli | Helps your body make collagen, which repairs cartilage | Keep a bowl of oranges or berries on your counter for snacks |
| Calcium sources | Low-fat dairy, fortified plant milk, leafy greens | Keeps bones strong, which supports joints | Have a glass of milk or fortified almond milk daily |
| Turmeric and ginger | Fresh or ground spices | Natural anti-inflammatory compounds | Add to smoothies, soups, or take as tea |
Foods to limit: Processed foods, excess sugar, fried foods, and red meat can increase inflammation. You don’t have to cut them out completely, but try to limit them to once or twice a week.
Other Supportive Strategies
| Strategy | How It Helps | When to Use It | How to Do It |
|---|---|---|---|
| Ice therapy | Reduces inflammation and numbs pain | After exercise or during pain flare-ups | Apply ice pack for 15-20 minutes; use a thin towel between ice and skin |
| Heat therapy | Loosens stiff joints and relaxes muscles | Before exercise on stiff mornings | Use a heating pad for 15-20 minutes; or take a warm shower |
| Gentle self-massage | Releases muscle tension around the hip | Evening or rest days | Use your hands or a foam roller on your glutes, thighs, and lower back |
| Maintain healthy weight | Less weight = less stress on hip joints | Ongoing lifestyle choice | Even losing 5-10 pounds can make a noticeable difference |
| Good sleep | Your body repairs itself during sleep | Every night, 7-9 hours | Sleep on your back or side with a pillow between your knees |
Exercises to Avoid (At Least for Now)
Not all movement is good when you have hip arthritis. Some activities put too much force through your hip joint and can make your pain worse. Skip these:
- Running on hard surfaces like concrete or asphalt (the impact is 3-4 times your body weight with each step)
- Deep squats that take your hips below knee level (puts extreme pressure on the joint)
- High-impact aerobics or jumping exercises (too much force on already-stressed joints)
- Lunges (at least deep ones—they can aggravate hip pain)
- Contact sports like basketball or soccer
- Any movement that causes sharp pain in your hip (even if it seems like a good exercise)
What about yoga or Pilates? These can be great, but tell your instructor about your hip arthritis. Avoid deep hip openers and twists that cause pain. Stick to gentle, modified versions.
What to Do When Things Don’t Go as Planned
Problem: My hip hurts more after starting these exercises
Possible causes:
- You’re doing too much too soon
- Your form needs work
- You’re not warming up enough
- You have inflammation that needs to calm down first
What to do:
- Take 2-3 days off to let inflammation settle.
- Apply ice for 15-20 minutes, 2-3 times a day.
- When you restart, cut everything in half: do 5-6 reps instead of 10-12, and do only 3-4 of the exercises instead of all 6.
- Have someone check your form or record yourself to compare with the instructions.
- If pain persists, see a healthcare provider.
Problem: I can’t complete all 12 minutes without getting exhausted
What to do:
- Split it into two 6-minute sessions (morning and evening).
- Or do 3 exercises one day, 3 the next day, alternating.
- Take longer rest breaks (60-90 seconds instead of 30-45 seconds).
- Reduce reps to 6-8 instead of 10-12.
You’ll build stamina over time. Start where you are, not where you think you should be.
Problem: I’m not seeing any improvement after 4-6 weeks
Possible reasons:
- Your form might be off (you’re not targeting the right muscles).
- You’re not doing it consistently enough (less than 3 times a week).
- Your hip arthritis is severe and you need medical intervention.
- You need a more personalized program.
What to do:
- Record yourself doing the exercises and compare with the instructions. Or ask someone to watch you.
- Make sure you’re doing at least 4 workouts per week.
- Consider seeing a physical therapist for an assessment. They can identify issues you can’t see yourself.
- Your doctor might need to adjust your medications or discuss other treatments.
Problem: I missed a whole week of exercises. How do I get back on track?
What to do:
- Don’t beat yourself up. Life happens.
- Do a gentle warm-up workout: just 1 set of each exercise, 6-8 reps.
- If that feels okay the next day, go back to your normal routine.
- If you missed 2+ weeks, drop back one level in the progression plan for the first week back.
The key is restarting, not being perfect.
Problem: One exercise causes pain, but the others are fine
What to do:
- Skip that exercise for now.
- Do an easier version from the modifications table.
- Make sure you’re doing it correctly—poor form often causes pain.
- If it still hurts after trying modifications, leave it out. Five exercises are better than zero exercises.
- Mention it to your doctor or physical therapist at your next visit.
Problem: The exercises feel too easy, but I’m still in pain
What this might mean:
- You’re getting stronger, but your arthritis pain has other causes (inflammation, bone spurs, etc.).
- You need additional treatments along with exercise.
- You might need a more specific exercise program targeting your particular issues.
What to do:
- Keep doing the exercises—strength still helps protect your joint.
- Talk to your doctor about other pain management options.
- Consider working with a physical therapist who can assess your specific movement patterns.
- Look at the lifestyle factors: are you managing your weight, eating well, and staying active throughout the day?
When to See a Healthcare Professional
Exercise is powerful, but it’s not magic. Sometimes you need additional help. See a doctor or physical therapist if:
- Your pain is severe and interferes with sleep, daily activities, or basic movement.
- You’re not seeing any improvement after 6-8 weeks of consistent exercise.
- You have swelling, warmth, or redness around your hip that doesn’t go away.
- You’re having trouble walking or your hip is giving out.
- You feel sharp, shooting pain that doesn’t match the normal discomfort of exercise.
- You have numbness or tingling down your leg.
- Your pain is getting progressively worse despite exercise and other conservative treatments.
- You can’t do basic tasks like putting on socks, getting in and out of a car, or climbing stairs.
A physical therapist can:
- Assess your specific movement patterns
- Identify muscle imbalances or weaknesses
- Create a more personalized exercise program
- Use hands-on techniques to reduce pain and improve mobility
- Teach you proper form to prevent injury
Don’t wait until you’re in terrible pain. Early intervention often prevents bigger problems down the road.
Integrating Hip-Healthy Habits Into Your Daily Life
You don’t have to limit hip care to your 12-minute routine. Here are ways to protect and strengthen your hips all day long.
Sneak These Moves Into Your Day
- Do clamshells while watching TV. Lie on your side during your favorite show. You can get in 2-3 sets without even thinking about it.
- Practice chair stands every time you sit down. Each time you stand up from a chair, do it slowly and with control. That’s functional strength training.
- Do leg lifts while brushing your teeth. Hold the counter and lift one leg, then the other. Two minutes of brushing = a bonus leg workout.
- Do standing leg circles while waiting. In line at the store? Shift your weight and do small leg circles. Nobody will even notice.
- Practice the cat-cow stretch in bed. Before you get up in the morning, do a few gentle rounds to loosen your hips and back.
Hip-Friendly Habits Throughout Your Day
- When sitting: Change positions every 30 minutes. Sitting too long stiffens your hips.
- When standing: Don’t stand on one leg. Distribute your weight evenly.
- When walking: Take shorter, more frequent walks rather than one long walk that aggravates your hip.
- When sleeping: Sleep on your back or side with a pillow between your knees. This keeps your hips aligned.
- When driving: Adjust your seat so your hips are level with or slightly higher than your knees. Get out and walk every hour on long drives.
- When carrying things: Use a backpack instead of a shoulder bag. Uneven weight stresses your hips.
Your Hip Health Toolkit
Here’s a quick reference for all the strategies we’ve covered. Keep this handy.
| Category | Strategy | When to Use | Expected Benefit |
|---|---|---|---|
| Exercise | 12-minute routine | 5 days/week | Reduced pain, increased strength (8-12 weeks) |
| Cardio | Walking, swimming, cycling | 3-5 days/week, 15-30 min | Better overall fitness, weight control |
| Pain relief | Ice therapy | After exercise or flare-ups | Reduces inflammation quickly |
| Mobility | Heat therapy | Before exercise | Loosens stiff joints |
| Recovery | Rest days | 2 days/week | Muscles rebuild and strengthen |
| Nutrition | Anti-inflammatory foods | Daily | Long-term inflammation control |
| Body mechanics | Proper sitting/standing | All day | Prevents additional strain |
| Sleep | 7-9 hours, proper position | Every night | Body repairs tissues |
| Weight | Maintain healthy weight | Ongoing | Less stress on joints |
| Professional | Physical therapy | When needed | Personalized guidance |
What to Expect on Your Hip Health Path
Let’s be honest about what this process looks like. It’s not always smooth or linear.
Week 1-2: You might feel awkward and unsure. The exercises feel strange. You’re not sure if you’re doing them right. Some days you’ll feel motivated, other days you’ll want to skip it. That’s normal. Just keep showing up.
Week 3-4: The exercises start feeling more natural. You’re not thinking about every step. But you might not feel much different yet. Trust the process. Your muscles are getting stronger even if you can’t feel it.
Week 5-6: This is when some people see their first real improvements. Maybe you notice you got up from a chair without thinking about it. Or you walked a bit further than usual. Small wins.
Week 7-8: You might hit a plateau. Progress seems to stall. This is normal. Your body is consolidating gains. Keep going.
Week 9-12: This is where real change happens for most people. Pain levels drop noticeably. You can do more activities. You feel more confident in your body. The exercises that were hard in week 1 now feel easy.
After 12 weeks: You’re in maintenance mode. Keep doing the exercises 3-5 times a week to maintain your gains. If you stop, your strength will slowly decrease and pain may return.
Your Action Plan
You’ve got all the information. Now it’s time to act. Here’s your simple plan:
Today:
- Read through all 6 exercises one more time.
- Print or bookmark the Exercise Quick Reference Guide.
- Clear a small space in your home where you can exercise comfortably.
- Put a reminder in your phone for tomorrow morning.
Tomorrow (Day 1):
- Do the 2-minute warm-up.
- Try each exercise with just 5-6 reps to learn the form.
- Don’t worry about doing them perfectly.
- Note which exercises felt okay and which were challenging.
- Fill in the “Week 1” column of your progress tracker.
This Week (Days 2-7):
- Do the full routine 3-4 times (not every day).
- Rest at least one day between workouts.
- Focus on form, not speed or reps.
- If something hurts (beyond normal muscle discomfort), modify it.
Next Week (Days 8-14):
- Aim for 4-5 workouts.
- Try to complete 8-10 reps of each exercise.
- Notice if any exercises are getting easier.
- Adjust based on how your body feels.
Weeks 3-4:
- Work up to the full 10-12 reps.
- Do the routine 5 days a week if possible.
- Fill in your “Week 4” progress measurements.
- Celebrate your consistency—that’s the biggest win.
Conclusion
Hip arthritis is challenging. It affects your mobility, your independence, and your quality of life. But you’re not powerless.
These 6 simple exercises take just 12 minutes a day. They’re backed by solid research showing they can reduce pain, improve strength, and help you do the activities you love. You don’t need fancy equipment or a gym membership. Just your body, a sturdy chair, and the commitment to show up for yourself.
Some days will be easier than others. Some days your hip will feel better, some days worse. That’s part of the process. What matters is consistency over time.
Start where you are. Not where you think you should be. Not where your neighbor is. Where you are right now, today. Then work from there.
Your hips have carried you through life. They’ve taken you places, helped you do things, supported you in countless ways. Now it’s time to give them the support they need to keep going strong.
You’ve got 12 minutes. You’ve got these exercises. You’ve got this.
Quick Summary
The 6 Exercises:
- Bridge (glutes and hamstrings)
- Clamshell (hip abductors)
- Chair Stand (quads and glutes)
- Standing Leg Lift (hip flexors and balance)
- Lying Leg Circle (hip mobility)
- Cat-Cow Stretch (back and hip flexibility)
The Schedule: 5 days a week, 12 minutes a day, with 2 rest days.
The Timeline: Small improvements in 2-4 weeks, significant changes in 8-12 weeks.
The Keys to Success:
- Consistency matters more than intensity
- Proper form prevents injury and maximizes results
- Listen to your body—pain is a stop sign
- Warm up before, cool down after
- Track your progress to stay motivated
- Combine exercise with other healthy habits
- Get help when you need it
The Bottom Line: These exercises work. Research proves it. But only if you do them. So start today. Your future self will thank you.
FAQs
Can I do these exercises if I have hip replacement surgery scheduled?
Yes, usually. In fact, doing these exercises before surgery (called “prehabilitation”) can improve your recovery. Stronger muscles before surgery mean faster healing after. But check with your surgeon first. They might have specific recommendations based on your situation.
What’s the best time of day to do hip arthritis exercises?
The best time is whenever you’ll actually do them. But here are some tips:
- Morning: Your hips might be stiff, so warm up extra carefully. Some people feel looser after moving.
- Afternoon: Often the sweet spot. Your body is warmed up from daily activities.
- Evening: Can help reduce pain before bed. Just don’t do them right before sleep—give yourself an hour to wind down.
Try different times and see what feels best for your body.
How long before I see results from these hip exercises?
Most people notice small improvements within 2-4 weeks. You might find certain movements easier or daily tasks less painful. Bigger changes—significant pain reduction, better mobility—usually happen around 8-12 weeks of consistent practice.
If you’re not seeing any improvement after 6 weeks, check your form or talk to a physical therapist. You might need adjustments.
Should I exercise when my hip is having a flare-up?
It depends on how bad the flare-up is. If your hip is extremely painful, swollen, or hot to touch, take 1-2 days off from the strengthening routine. You can do gentle range-of-motion movements like the leg circles, but skip the strengthening exercises.
Once the acute pain calms down (usually 2-3 days), start back slowly. Do fewer reps or easier versions until you feel ready for the full routine.
Do I need to take pain medication before exercising?
You shouldn’t need to. If you’re taking pain medication just to get through these gentle exercises, that’s a sign you need to modify them or get medical advice.
Some mild discomfort during exercise is normal. But if you need medication to tolerate the workout, something’s wrong. Either your technique needs work or the exercises are too advanced for your current condition.
Can these exercises make my hip arthritis worse?
When done correctly, these exercises should help, not harm. But yes, doing them wrong or pushing too hard can cause problems.
Warning signs you’re overdoing it:
- Pain that gets worse with each workout
- Increased swelling around your hip
- New sharp pains that weren’t there before
- Stiffness that lasts all day, not just for an hour or two after exercise
If you notice any of these, scale back or stop and see a healthcare provider.
I missed a week of exercises. Should I start over?
No need to start from scratch. Jump back in where you left off, but maybe do one fewer set or a few fewer reps for the first workout back. Your body bounces back quickly from short breaks.
If you missed 2+ weeks, drop back one level in the progression plan. For example, if you were on week 5, restart at week 3 intensity.
The exercises feel too easy now. What should I do?
Great problem to have! Look at the “Too Easy? Try This” column in the modifications table. You can also:
- Increase to 2 sets of each exercise
- Slow down your tempo (3 seconds up, 3 seconds down)
- Reduce rest time between exercises
- Add light resistance bands for clamshells and leg lifts
You could also ask a physical therapist about progressing to more challenging variations.
Can I do these exercises if I also have lower back pain?
Usually yes, but be extra careful with the bridge and cat-cow. These exercises can actually help back pain because they strengthen your core and glutes. But if any movement makes your back pain worse, skip it or modify it.
If you have sciatica (pain shooting down your leg), talk to your doctor before starting. Some of these movements might not be appropriate.
Will losing weight really help my hip arthritis?
Yes. Studies show that every pound you lose takes about 4 pounds of pressure off your hip joint when you walk. If you lose 10 pounds, that’s 40 pounds less force on your hips with each step.
You don’t have to reach your “ideal” weight. Even a 5-10 pound loss can reduce pain and improve function.


